Thursday, February 2, 2012

Vaccum Plumbing Finished !

I used some 4mm copper tubing to throw a nice timeless touch to the itb setup. I started by connecting the vaccum line couplers to help me mock these bends up. Started at #1 and just kept on going. These are hand bent using 3 different sized dye and lots and lots of massaging. I started to make juction blocks earlier today out of a 3/4" stick of delrin. The lines will later be rtv'd onto these blocks and then a 3/4 id vaccum hose will be routed to a vaccum manifold i will be making later. Their will be two 3/4 id hoses going to this manifold.


Plugging Unused Ports

I purchased a 9mm 6061 aluminum rod to fill the injector bosses and make for a flush clean fill so the air flow is not altered by any turbulence. I also filled the side ports that the secondary butterfly rod was using.


ITB Spacing Finished

Got my aluminum spacers in the mail. Along with some different raw metal stocks. I made two 280mm 6mm x 1 stainless steel studs out of 6mm stainless stock with a dye to hold the assembly together.


Monday, January 30, 2012

ITB Spacing

So I got a little work done on the setup tonight. I welded on 10mm extensions onto each of the throttle linkage arms. After doing that I temporarily lengthened the two factory bolts by 30mm and added temporary 10mm spacers (junk, and left over parts). I will be ordering the 10mm spacers and longer bolts tonight.

The specs are 280mm long 6mm x 1 for the two bolts and the spacers are 10mm long, 13mm OD and 6.3mm ID. These mods will allow the factory port spacing to stretch from 80mm to 90mm.


Saturday, January 28, 2012

Velocity Stacks and Plugs

It is now time to plug the 4 injector bosses and the 8 secondary throttle linkage holes. To do this I will be ordering 3/8" aluminum rod to plug the holes and then cut to length, welded in and shaped flat on the outside and contour matched on the inside.


I will also be ordering 4 - 40mm ID x 120mm long velocity stacks made out of 2mm spun aluminum. These will be welded to the inlets on the ITBs. The bellmouths OD are 84mm which will allow 6mm between each bellmouth to fit a sock style air filter on. These stacks will give me the best balance of low rpm usability and high rpm power.


Secondaries Removed


The secondaries are now removed. The assembly is now held together temporarily by the original bolts.


Here is what I'm left with.

Disassembling

My first step will be to disassemble the ITBs to prepare them for welding and removal of secondaries. These are being removed since they have no way to be controlled and are not needed. First I need to take the secondary actuator off. Once it has been removed then you can take apart each butterfly at the plate there will be two screws. Then you can loosen the nut on the end of the rod and you can slide it out.
 
 Then you remove the two long bolts that hold the assembly together...


Starting


The intake ports on the 2000 Head would use a 1.5" ID oval to round tube if the head was ported slightly so I shopped for a set of ITBs that have the matching runner size as the 1.5" ID ports. I came across a set of 2001 Suzuki GSX-R 600 ITBs. They have 41mm ID inlets and 38mm ID outlets which will mate up well next to the 1.625" OD tube runners. These four tubes will be welded to a 3/8" laser cut aluminum head flange and attached to the ITBs with a set of 4 - 1.625" ID silicon couplers. On intake side of the throttle bodies I will be adding velocity stacks to help increase the runner length and therefore use the ram affect more efficiently to help my low rpm driving around town and general need for torque. Velocity stacks also gather and sort the air more efficiently allowing more air into the cylinder each time the valve opens. I will be making the ITB setup 11" long from the intake ports on the side of the head. This will allow 3 intake strokes worth of air to be inline to pack the first 1 in faster. These velocity stacks will need to be 110mm long to fit next to my ABS block. This will allow the throttle bodies to be located 2/3rds of the way down the full intake runner.These ITBs from the GSX-R 600 are going to work perfectly for this engine.


Inlet side is 41mm ID and 45mm OD


Outlet side is 38mm ID and 42mm OD

 The port spacing on the ITBs do not match the port spacing on the head. The ITBs port spacing is 80mm while the heads ports are 90mm. I will have to had 10mm spacers between each of the throttle bodies mounting points. This will make the setup too long for its original bolts. I will need to get 2 - 280mm long M8x1.25 bolts. This also means I will need to weld on extensions to each one of the throttle control arms so they can still all link up correctly using the stock adjusters.


Project Considerations

There are up sides and down sides to what ITBs do for an engine. Individual throttle bodies (ITBs) allow each cylinder to have its own throttle plate and runner instead of each cylinder pulling from a communal plenum. ITBs eliminate the plenum style intake manifolds that use 1 throttle body to feed all four cylinders ports. Plenum style intake manifold work well for commuter cars since power is desired at lower rpm. Having your intake ports fed through a communal plenum increases the torque of your engine at lower rpm due to a ram effect as air coming into the plenum is introduced. Once air is introduced into the plenum it gets draw to each cylinder port. While each valve shuts, the incoming air in each runner runs into its self and packs into the running increasing the pressure in the runner. Once the intake valve opens, the higher pressure air moves into the cylinder faster and more air makes it into the cylinder before the valve shuts again. ITBs do not draw from a communal plenum so you loose a lot of volume that can help increase the ram effect. Because of this you will loose some lower rpm power and torque but you gain a lot of horsepower due to the less restrictive intake route and much larger runners that are able to flow more air. More CFM means more revs required to move that extra air.


This means I will need to rev my engine much higher to utilize the new found horsepower gains that the ITBs will offer and the cost of this new power will be a loss in lower rpm torque. Idling is usually difficult at low rpms also since throttle tip in is so much steeper than with a conventional intake manifold. So I am expecting to have to increase my idle from 700 rpm to around 1000-1200 rpm. I will want to retain my factory cruise control, which is vacuum operated and the MAF sensor will no longer be able to be used. Because of this i will need to run a communal vacuum system that links all post throttle body runners together and have the MAP sensor hooked up to that source. The change from a MAF to a MAP sensor will require a standalone ecu so I am doing either an AEM EMS setup or a Megasquirt III setup. The computer will also use the TPS, cam sensor and intake air temp sensor to complete its calculations. This will allow me to ditch the emissions equipment and re-tune for 93 octane gas. The factory fueling system should be able to support my 150whp short term goal so I will not be touching it. The ignition system may need a bit of an upgrade however to help with the efficiency of the new found rpm and power. The higher rpms will be putting more stress on the bottom end and increasing the chance of valve float. The 2000 Miata engines do not start to valve float until around 8000 rpm. To battle the increase of heat in the bottom end I will be adding an oil cooler and because these engines have oil squirters to cool the pistons, this should help to deal with the added heat build up from the added rpms. The Miata and racing communities in general rave about Redline Oils. They even have perfect weights available for the Miata transmission, differential and engine. I am hoping to get away with using my factory clutch. I will give it a chance but it should hold my 150whp short term goal.

Project Conception


So this brings me to the point of this blog. My answer for a more balanced car, that has enough power to match the performance in all other areas of the car. I tossed around the idea of turbo charging but I never liked the feeling of the turbo surging in during high speed corner exits and not having enough power at low rpms to get the turbo going. This feeling of boost climbing requires extra thought that could be used for other things. Turbo charging makes alot of power and torque but the way it delivers the power progressively after a 1-2 second wait is not my idea of a fun balanced car to rip thought the mountains with. However getting to the mountains would take much less time.

I then thought of a supercharger, all that great torque of forced induction and a linear power increase as rpms increased. Superchargers that work well on these cars are the famous Eaton superchargers, MP45, M62 and M90. The M45 was the original supercharger of choice for aftermarket Miata supercharger systems making around 145whp on the 1.6L's and 160whp on the 1.8L's. After good success with the M62 on Honda 1.6 and 1.8 liter four cylinder engines, companies started to apply them to Miatas. They produced around 190whp and had plenty of room to make more power if you decided to raise the boost. The M90 was never offered in a kit but a few people install them with homemade parts. These produced around 270whp @10 psi and over 350whp @20psi. These are large numbers and I think the M90 would just upset the car too much for mountain runs. Making a custom M62 setup was going to run me over $3,000 to build and was just too much to spend on my car at 1 time. It would be a lot of work, time and a lot of money spent to barely use the supercharger since my power goals are not that high. So this just wasn't for me.

I am not looking to swap an engine from another car due to too many changes to the car to really be cheap and reliable. There is a hidden cost to engine swaps to get them really "right" and I am not looking to sign my only car over to such a long and expensive process that is know as the "swap".

So that leaves me to making good ole, simple naturally aspirated power. I would like to see an increase from 108whp to around 155whp without getting into the internals of the engine. Once this car is used as a dedicated racer I will be doing internal work then. But until then I will be using it as a daily and weekend mountain goer that I can still enjoy having ac, power steering and cruise control. It will need to be able to idle well at a reasonable rpm with no phantom stalls, since it will be driven in town. It will need to be able to have a smooth throttle tip in at low rpm but still have high rpm throttle response. And most importantly it will need to be able to supply enough power to the tires to make the car throttle steerable and more fun on the corner exits.

My 2000 Miata

I have taken a few years out of racing and sold my race car projects including a 1987 Rx7. I have recently sold my first car, the 98 Civic and bought a 2000 Miata SE. I purchased this car to use as a fun car that I can drive to work daily but still enjoy the mountains in. My plans are to eventually turn this car into a dedicated hillclimb, time trial racer and use a different car as my daily. This has been a great car for me the last 6 months. Its a blast to drive! Great balance and much better handling than even my modified 1991 turbocharged autocrossing Miata I had a few years prior and this was on the stock suspension! The brakes have done very well but could benefit from higher temperature rated front brake pads. It is very quick to turn and very stable. This car was previously owned by a elementary  school teacher that she bought brand new and put 130k miles on it so this thing is completely unmodified and title is clean. It does have a bit too much front to rear weight transfer due to too soft of springs in my opinion but this allows for epic trail-brake entries and planted exits so you can really get on the gas early during any point in the turn. This car has the optional Torsen LSD rear differential which really helps these cars a lot.


My only serious complaint about the car is the amount of power. This car's mid corner stability and exit characteristics have made for a too good of a handling car for the engine provided. Throttle modulation does not get you much of any change but more revs are your best friend. This car dyno'd at 108whp@6800 rpm and 103wtq@4400 rpm. I have found that I am not getting the entry speeds I want on most of the roads around here. To really utilize the LSD and great handling this car has to offer. I figure another 50whp would be enough to balance the car out again and make corner exits and straights as fun as the entries and mid corner grip this car has to offer.

My Background

Hi, my name is Ari and I am an automotive fabricator located in Greenville, SC. I got my start in my mom's garage, making turbocharger setups, headers and exhausts for friends and fellow racers. After doing this for 7 years I started Greenville Welding LLC to turn this hobby into something I could be doing professionally. I found some space in a warehouse to work out of soon after. After doing this for about 1 year I partnered up with a local performance shop to help them with their growing need for custom fabrication. I now work out of their location doing a little of my stuff and a little of their stuff. Come take a look at some of my previous work I have done.


I got into cars because I just loved to drive, anything and everything. My first car was a 1998 Honda Civic DX. It was fun but I decided it needed more power. I made a turbo setup for it using a little T25 turbo. Discovering autocross just after I got my license, I wanted to start right off. After watching a local event I found a car club in Clemson called Clemson Sports Car Club. They have been holding monthly autocrosses for over 30 years on campus and was a really tightly knit group of young car guys looking to push their cars and meet other car people. I continued autocrossing with them and other groups around the state. I purchased a few Miatas over these years and started modifying them. I made just about every part you could make for a car on those 3 Miatas. After becoming more and more competitive I wanted to try something new. Ted, a friend of mine suggested hillclimbs. He grew up watching the privateer racers tear through the roads of Chimney Rock in their yearly hillclimb events. He started a few local events a few months back and wanted to see if I would be interested. Curvy public roads and little room for error ... sounds like fun ... where do I sign up. I worked with the SCCA to earn my level 4 time trial license. I purchased a cheap MR2 and drove it to hillclimbs for a few years.


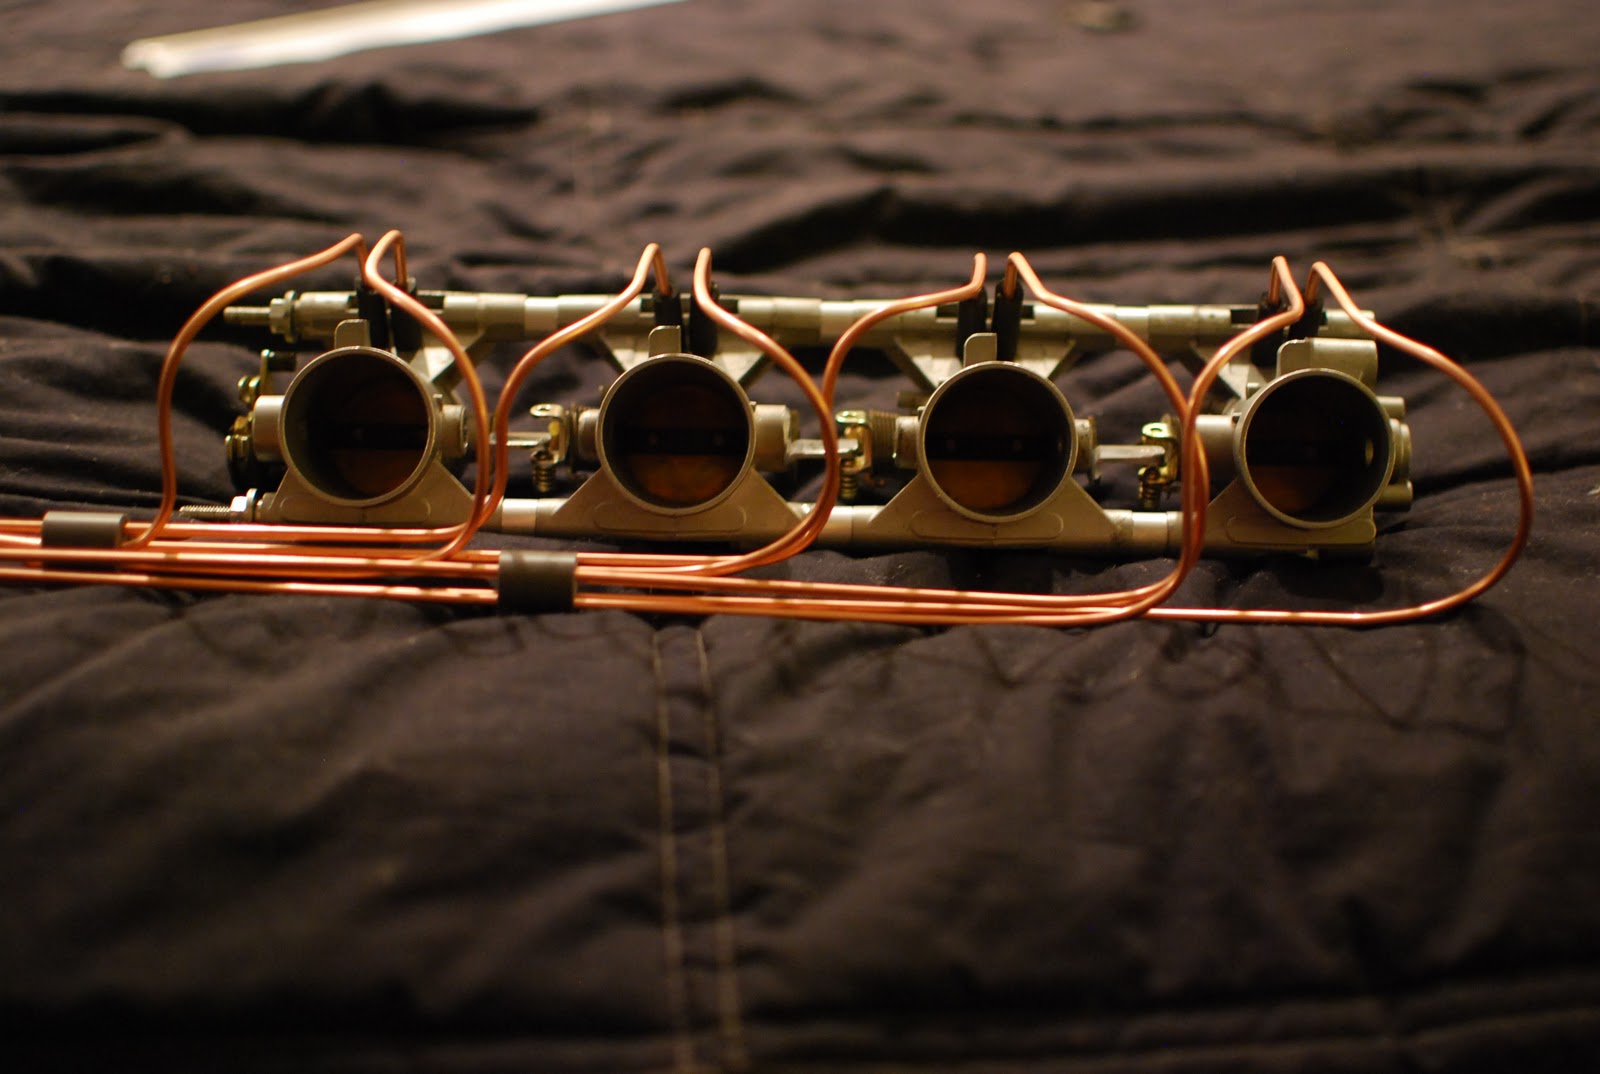
 My 3rd Miata. It was a 1991 with the 1.6L. I had it running Megasquirt II and a Nissan Pulsar GT28 turbo. It made around 230 whp@13psi. It weighed in at only 1900 pounds no driver!


This was my project car for hillclimbing I purchased it for. I was originally going to compete in NASA time trials but hillclimbs had more of a pull for me since I love driving through the mountains. Nothing special, just simple, cheap and safe. A good car out of the box.