Thursday, February 2, 2012

Vaccum Plumbing Finished !

I used some 4mm copper tubing to throw a nice timeless touch to the itb setup. I started by connecting the vaccum line couplers to help me mock these bends up. Started at #1 and just kept on going. These are hand bent using 3 different sized dye and lots and lots of massaging. I started to make juction blocks earlier today out of a 3/4" stick of delrin. The lines will later be rtv'd onto these blocks and then a 3/4 id vaccum hose will be routed to a vaccum manifold i will be making later. Their will be two 3/4 id hoses going to this manifold.


Plugging Unused Ports

I purchased a 9mm 6061 aluminum rod to fill the injector bosses and make for a flush clean fill so the air flow is not altered by any turbulence. I also filled the side ports that the secondary butterfly rod was using.


ITB Spacing Finished

Got my aluminum spacers in the mail. Along with some different raw metal stocks. I made two 280mm 6mm x 1 stainless steel studs out of 6mm stainless stock with a dye to hold the assembly together.


Monday, January 30, 2012

ITB Spacing

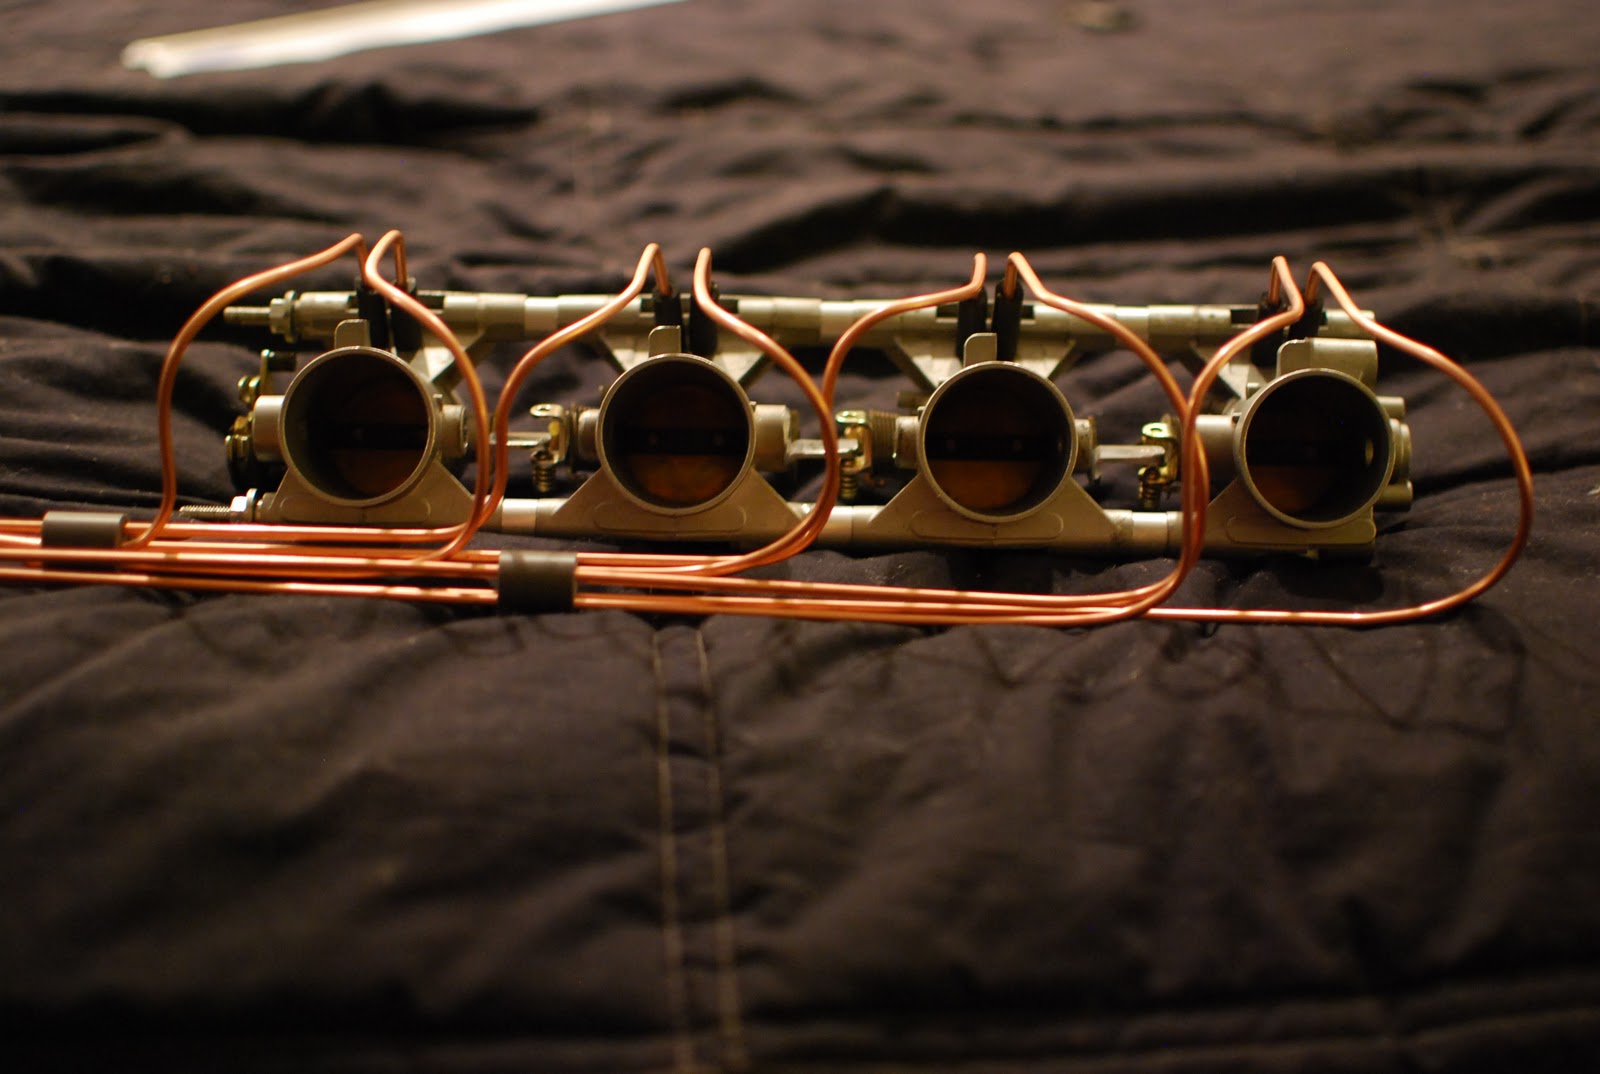
So I got a little work done on the setup tonight. I welded on 10mm extensions onto each of the throttle linkage arms. After doing that I temporarily lengthened the two factory bolts by 30mm and added temporary 10mm spacers (junk, and left over parts). I will be ordering the 10mm spacers and longer bolts tonight.

The specs are 280mm long 6mm x 1 for the two bolts and the spacers are 10mm long, 13mm OD and 6.3mm ID. These mods will allow the factory port spacing to stretch from 80mm to 90mm.


Saturday, January 28, 2012

Velocity Stacks and Plugs

It is now time to plug the 4 injector bosses and the 8 secondary throttle linkage holes. To do this I will be ordering 3/8" aluminum rod to plug the holes and then cut to length, welded in and shaped flat on the outside and contour matched on the inside.


I will also be ordering 4 - 40mm ID x 120mm long velocity stacks made out of 2mm spun aluminum. These will be welded to the inlets on the ITBs. The bellmouths OD are 84mm which will allow 6mm between each bellmouth to fit a sock style air filter on. These stacks will give me the best balance of low rpm usability and high rpm power.


Secondaries Removed


The secondaries are now removed. The assembly is now held together temporarily by the original bolts.


Here is what I'm left with.

Disassembling

My first step will be to disassemble the ITBs to prepare them for welding and removal of secondaries. These are being removed since they have no way to be controlled and are not needed. First I need to take the secondary actuator off. Once it has been removed then you can take apart each butterfly at the plate there will be two screws. Then you can loosen the nut on the end of the rod and you can slide it out.
 
 Then you remove the two long bolts that hold the assembly together...